 Sarah Grey
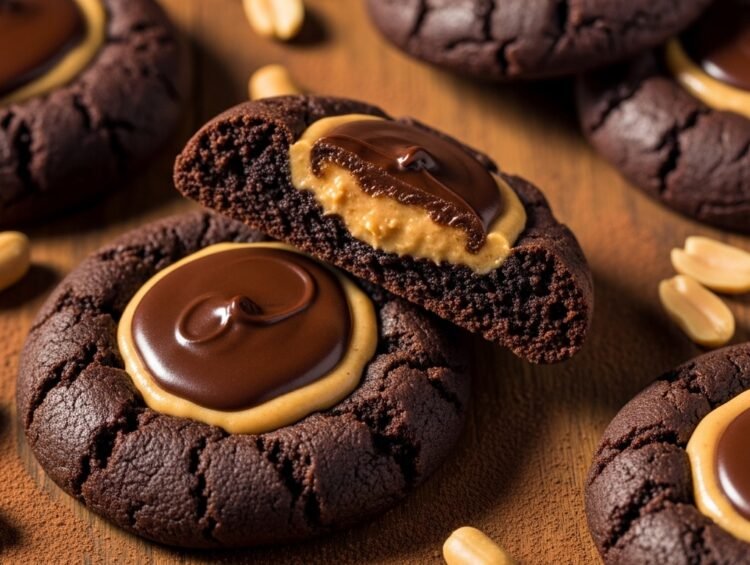
The combination of chocolate and peanut butter is one of the most beloved pairings in all of baking. It is comforting yet luxurious, familiar yet endlessly appealing. These peanut butter filled chocolate ganache cookies take that classic duo to a more refined, bakery-worthy level you can achieve at home. The exterior is a rich, tender chocolate cookie with slightly crisp edges. Inside hides a creamy peanut butter center that melts into the surrounding crumb. A glossy chocolate ganache crowns each cookie, adding a final layer of indulgence. Every bite delivers contrasting textures and deep, harmonious flavors. This is a recipe for bakers who appreciate balance, craftsmanship, and the joy of creating something truly special from simple ingredients.
What makes these cookies stand out is their architecture. Three distinct components, the chocolate cookie base, the peanut butter filling, and the ganache topping, work together to create an experience greater than any single element. The process requires some patience, particularly with chilling and assembly, but no advanced techniques. Careful home bakers who follow the steps methodically will be rewarded with cookies that look professional and taste extraordinary.
Choosing Quality Chocolate
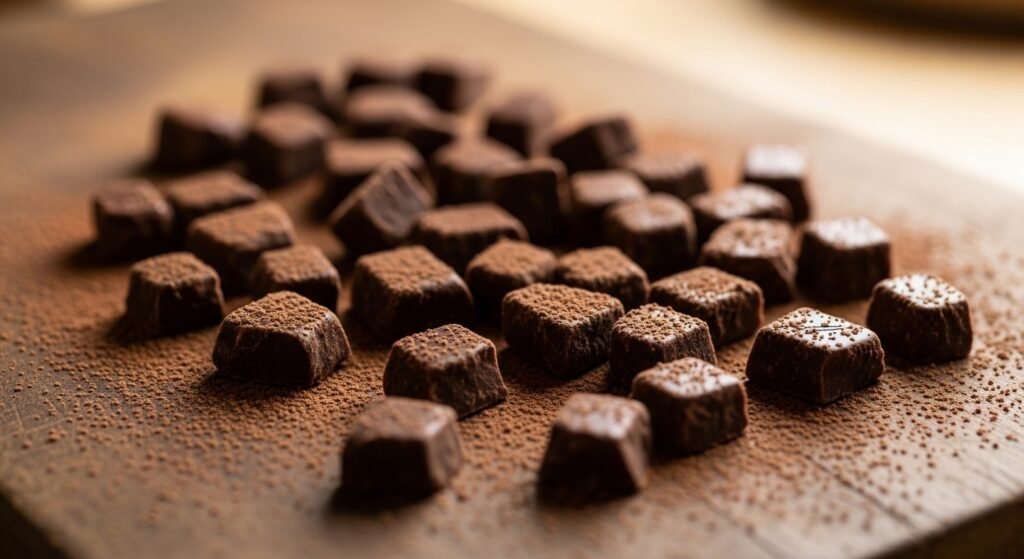
The ganache deserves fine dark or semi-sweet chocolate with good flavor. Chocolate in the 60 to 70 percent cacao range provides richness without excessive bitterness, complementing the sweet peanut butter filling. Chop the chocolate into small, even pieces so it melts smoothly and uniformly when the hot cream is added.
Avoid chocolate chips for ganache when possible. Most chips contain stabilizers that help them hold their shape during baking, which also makes them resistant to melting into a perfectly smooth ganache. Bar chocolate, chopped finely, melts more readily and produces a silkier result. The difference in texture is noticeable, and since ganache is a star component here, the upgrade is worth it.
Preparing the Peanut Butter Filling
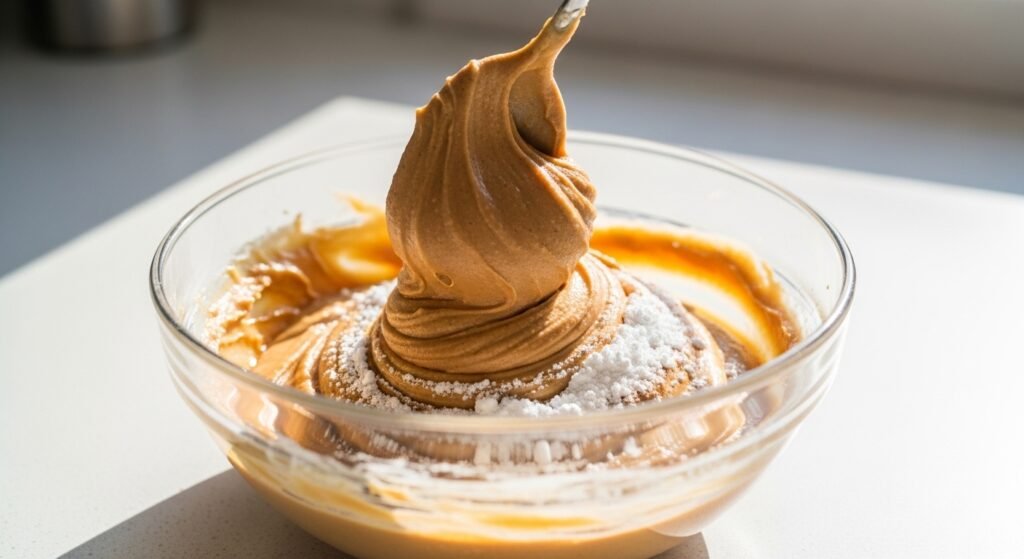
Use creamy peanut butter for a smooth, luscious center. Stir it thoroughly before measuring, as natural peanut butter separates. Mixing in powdered sugar firms the filling and adds sweetness that balances the saltiness of the peanut butter. A pinch of salt enhances the flavor, and a touch of vanilla adds warmth.
Chilling the filling before assembly is essential. Roll the mixture into small balls and refrigerate them until firm. This step makes the filling easy to handle and prevents it from squishing out when wrapped in dough. Cold filling also helps the cookies hold their shape during baking. Do not skip this rest; it is the key to clean, distinct layers.
Making the Chocolate Dough
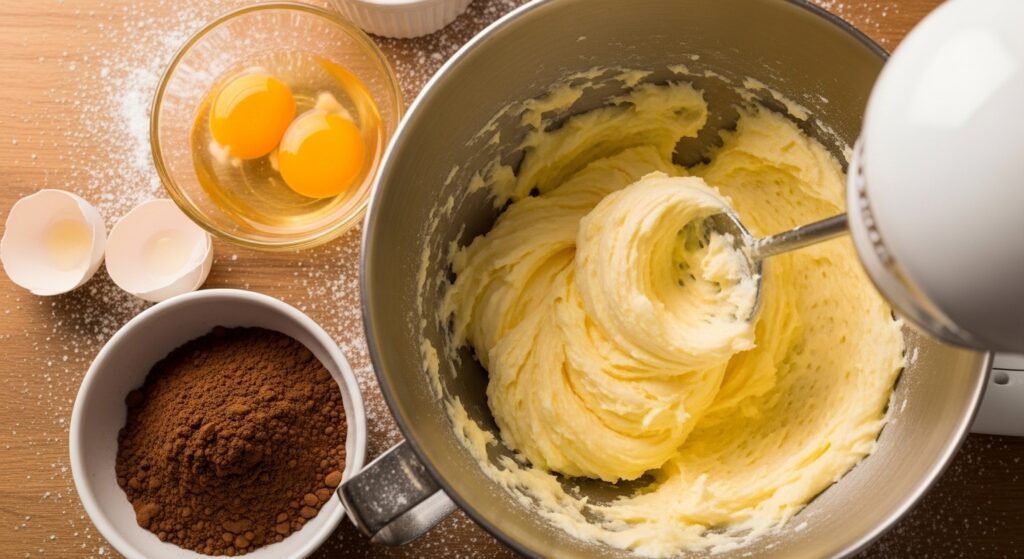
Cream butter and sugar together until light and fluffy. This step incorporates air that creates structure and tenderness in the finished cookie. Add eggs one at a time, beating well after each addition. Then mix in the dry ingredients, cocoa powder and sifted flour, until just combined. Overmixing develops gluten and makes cookies tough rather than tender.
Dutch-process cocoa powder gives the deepest color and smoothest chocolate flavor, though natural cocoa works as well. Sifting the cocoa with the flour prevents lumps and ensures even distribution. The dough should be soft but manageable, dark and fragrant. If it feels too sticky, a brief chill firms it up for easier handling.
Chilling for Better Texture
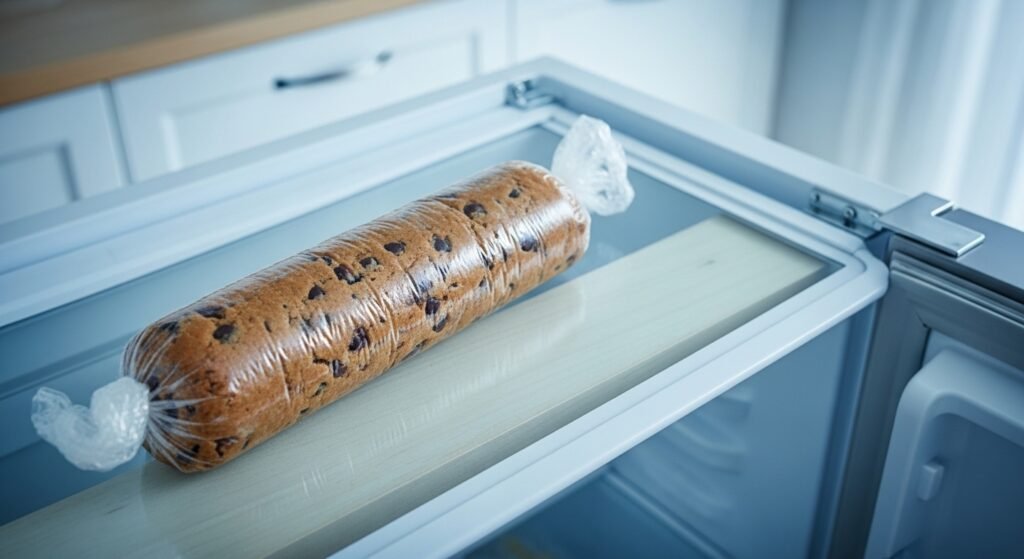
Rest the dough in the refrigerator for at least 30 minutes. Chilled dough spreads less in the oven, producing thicker cookies with better texture. It is also much easier to wrap around the peanut butter filling when firm. Patience at this stage pays off in both appearance and structure.
Chilling also allows the flour to hydrate and the flavors to meld, resulting in a more cohesive dough. For even better results, the dough can rest overnight. Just let it soften slightly at room temperature before shaping if it becomes too firm to work with. This is a flexible step that fits easily into your schedule.
Shaping the Cookies
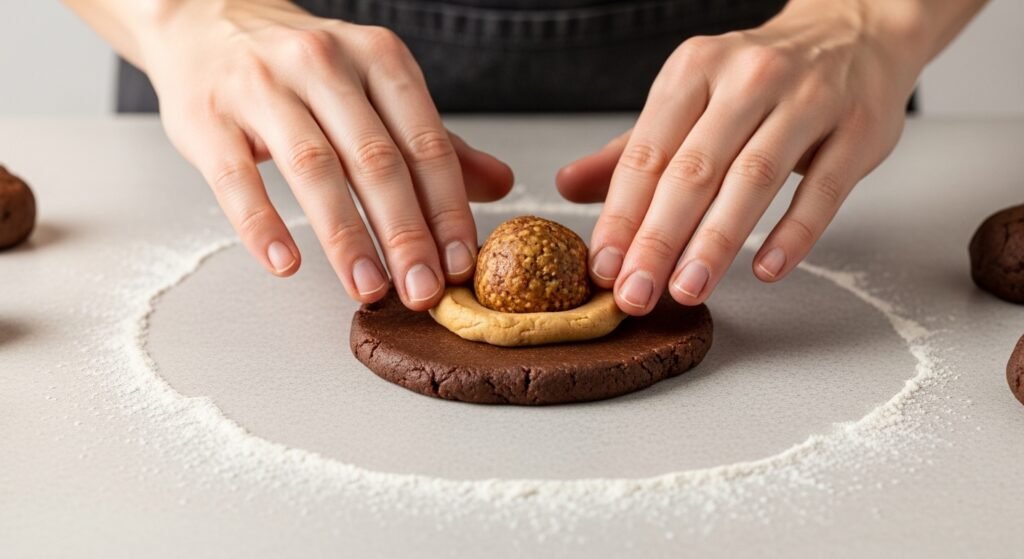
Take equal portions of dough and flatten each into a disc in your palm. Place a chilled peanut butter ball in the center, then carefully wrap the dough around it, pinching the seams to seal completely. Roll gently into a smooth ball. A thorough seal prevents the filling from leaking during baking.
Consistency in size ensures even baking. Using a cookie scoop for the dough portions helps achieve uniformity. Work with a few pieces at a time, keeping the remaining dough and filling chilled. If the dough becomes soft and sticky, return it to the refrigerator for a few minutes. These small disciplines make the assembly process smooth and enjoyable.
Baking with Care
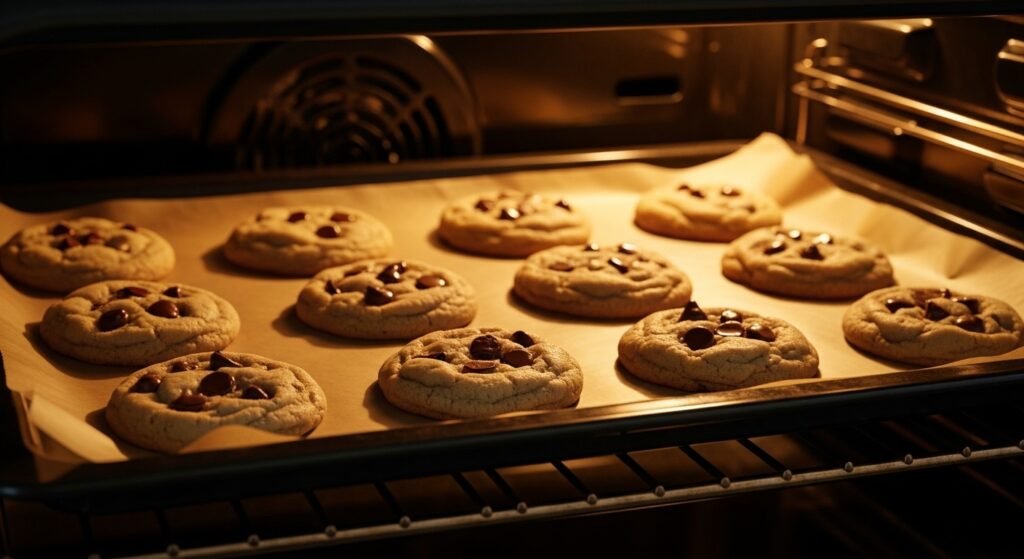
Preheat the oven fully before baking. Bake until the edges are set and firm while the centers still look slightly soft. Do not overbake; the cookies continue cooking from residual heat as they cool on the tray. Overbaked cookies become dry and lose the fudgy texture that makes them special.
Every oven has hot spots, so rotating the baking sheet halfway through promotes even baking. Let the cookies cool on the tray for several minutes before transferring to a wire rack. They are delicate when hot but firm up as they cool. The wait is difficult but essential for the ideal texture.
Preparing the Ganache
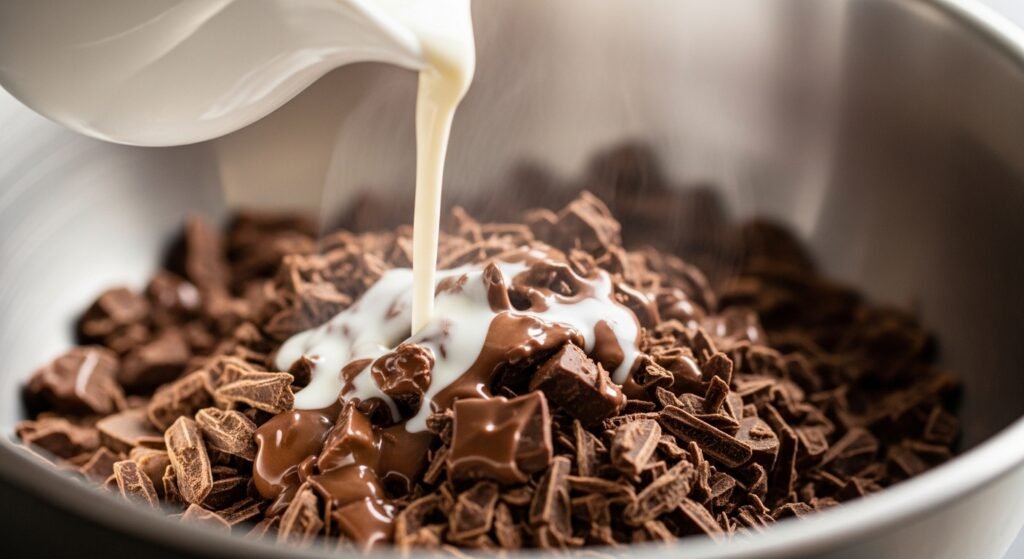
Heat heavy cream until it just begins to simmer, with small bubbles forming around the edges. Pour it over the finely chopped chocolate and let it sit undisturbed for a minute or two. Then stir gently from the center outward until the mixture becomes smooth and glossy. This gradual emulsification creates a silky ganache.
The ratio of chocolate to cream determines the ganache’s consistency. Equal parts by weight produce a pourable ganache perfect for topping cookies. Let it cool slightly until it thickens to a spoonable consistency that holds its shape. If it becomes too firm, a brief warming restores workability. Patience yields a mirror-like finish.
Filling the Centers
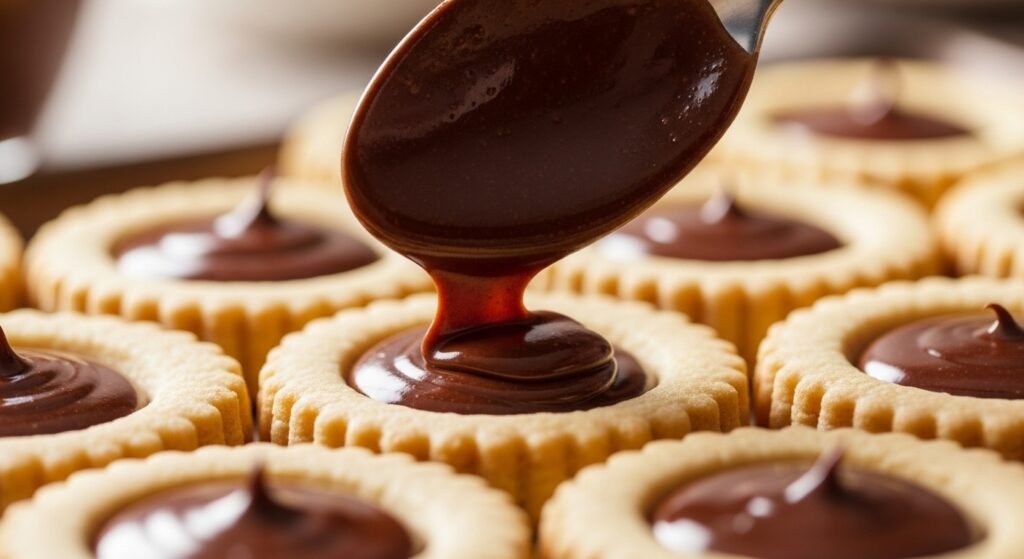
Once the cookies have cooled slightly, create a small well in the top of each one. A teaspoon or the back of a small spoon works well. Spoon the ganache into the centers, allowing it to settle naturally into a smooth pool. The slight warmth of the cookie helps the ganache level beautifully.
Work efficiently but without rushing. If the ganache begins to set in the bowl, gentle rewarming restores its fluidity. A small offset spatula or the back of a spoon can smooth the tops for a polished look. Each cookie becomes a little individual dessert, as beautiful as it is delicious.
Cooling and Setting
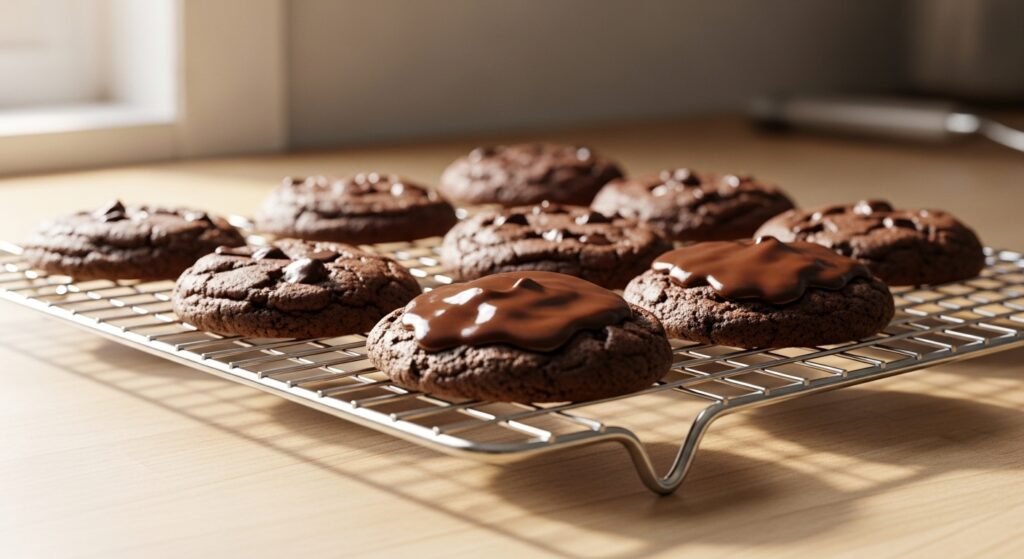
Allow the ganache to set at room temperature. Avoid refrigerating unless your kitchen is very warm, as rapid chilling can dull the ganache’s shine and cause condensation. A slow set at cool room temperature produces the smoothest finish with an attractive gloss that signals quality.
Setting typically takes one to two hours depending on conditions. Resist the urge to touch or move the cookies during this time. Once set, the ganache firms to a fudge-like consistency that holds its shape while remaining lusciously smooth on the palate. The transformation is worth the wait.
Storing for Freshness
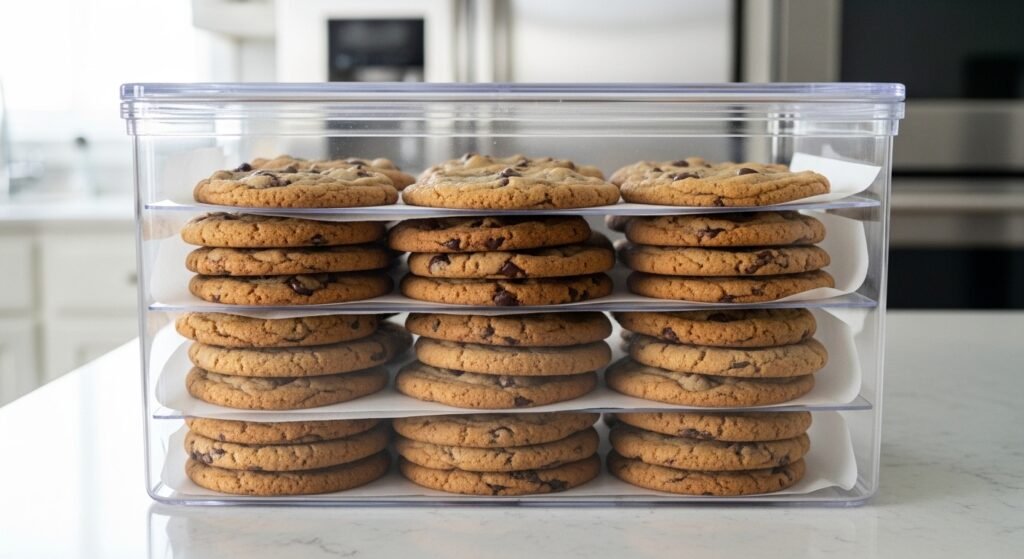
Store the finished cookies in an airtight container at room temperature for up to three days. Layer them with parchment paper to prevent sticking and protect the ganache surfaces. Proper storage preserves both texture and appearance, keeping the cookies as appealing on day three as on day one.
For longer storage, the unbaked filled dough balls freeze beautifully for up to three months. Bake them directly from frozen, adding a minute or two to the baking time, then top with fresh ganache. This make-ahead option is perfect for preparing holiday gifts or party treats without last-minute stress.
Serving Suggestions
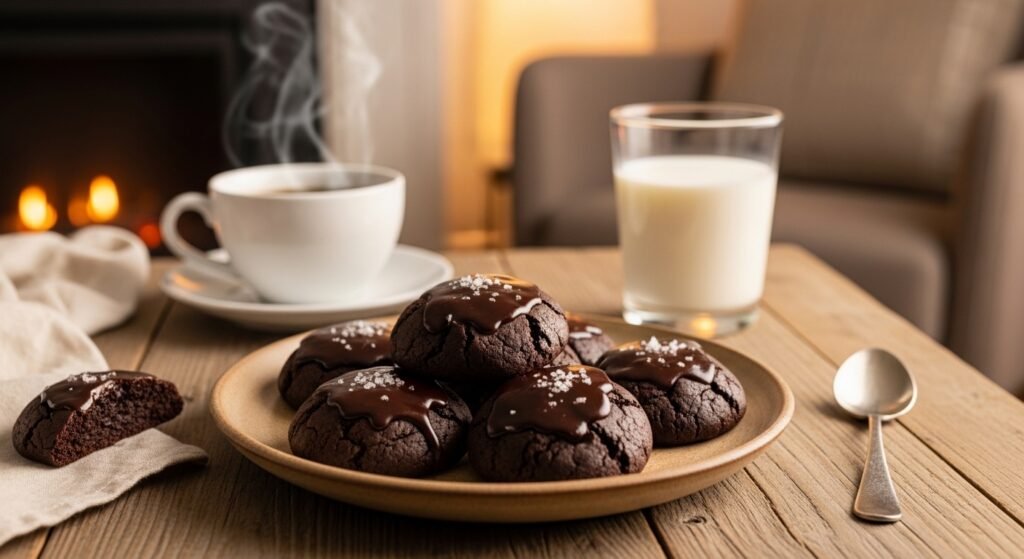
Serve these cookies with hot, freshly brewed coffee or cold milk. The beverages’ simplicity balances the cookies’ richness perfectly. Arrange them on a ceramic platter for an appetizing presentation that highlights their bakery-quality appearance. They also make exceptional homemade gifts, nestled in boxes lined with parchment and tied with ribbon.
However you serve them, these cookies are guaranteed to disappear quickly and be requested again.
Troubleshooting Tips
If the filling leaks during baking, the dough was not sealed completely or was too warm. Chill the shaped cookies before baking to firm everything up. If cookies spread too much, the dough needed more chilling time. If ganache appears grainy, the chocolate may have overheated; gentle rewarming and stirring often rescues it. If the ganache is too thin, let it cool longer to thicken. These simple fixes help every batch turn out beautifully, building your confidence with each attempt. With practice, these impressive cookies become a reliable favorite for holidays, parties, and thoughtful homemade gifts that everyone will love and remember fondly.
Make-Ahead and Gifting
These cookies are ideal for planning ahead. Prepare the filled dough balls up to three months in advance and freeze them on a tray before transferring to a sealed bag. Bake from frozen when needed, adding just a minute or two to the baking time. The ganache can be made fresh on the day of serving for the best shine and texture. For gifting, arrange cooled cookies in a sturdy box lined with parchment paper. Separate layers with additional parchment to protect the ganache. A handwritten note with storage instructions adds a thoughtful personal touch that recipients will appreciate.