 Sarah Grey
Walking into the makeup aisle for the first time can feel like landing in a foreign country where everyone speaks a language you never learned. Primer, setting spray, baking, cut crease, strobing. The wall of foundations alone is enough to make anyone turn around and walk out. If that sounds familiar, take a breath. Every person who loves makeup today once stood exactly where you are now, holding a single lipstick and wondering what on earth to do with it.
Here is the truth the beauty industry does not always tell you: you do not need a hundred products, professional skills, or a perfect face to wear makeup well. You need a handful of basics, a little patience, and the willingness to practice. This guide walks you through everything a beginner actually needs to know, step by step, so you can build a simple routine that makes you feel like the best version of yourself from day one.
Start With Skincare, Not Makeup
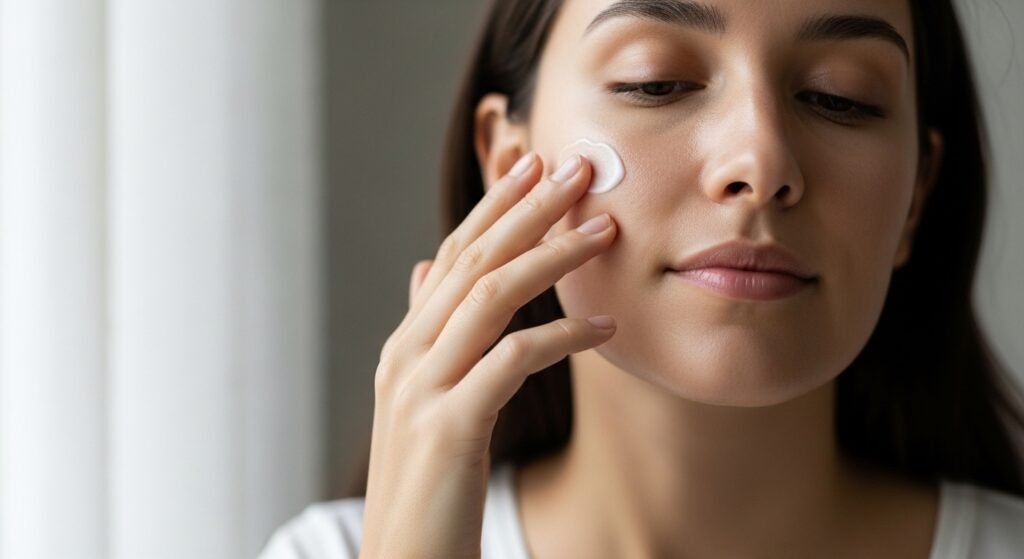
The single biggest secret to good-looking makeup has nothing to do with makeup at all. It is skin prep. Makeup sits on top of your skin, so whatever is happening underneath shows through. Dry, flaky patches will make foundation look cakey. An oily T-zone will break down concealer by lunchtime. Before you buy a single cosmetic, establish a basic routine: a gentle cleanser, a moisturizer suited to your skin type, and sunscreen every morning.
Dermatologists consistently recommend a broad-spectrum SPF 30 or higher worn daily, and this matters doubly for makeup wearers because many foundations do not provide reliable sun protection on their own. Apply moisturizer to slightly damp skin, wait two to three minutes, then apply sunscreen. Give that another few minutes to set before any makeup goes on. This waiting time is the difference between makeup that melts off by noon and makeup that stays fresh all day.
Find Your Foundation Match
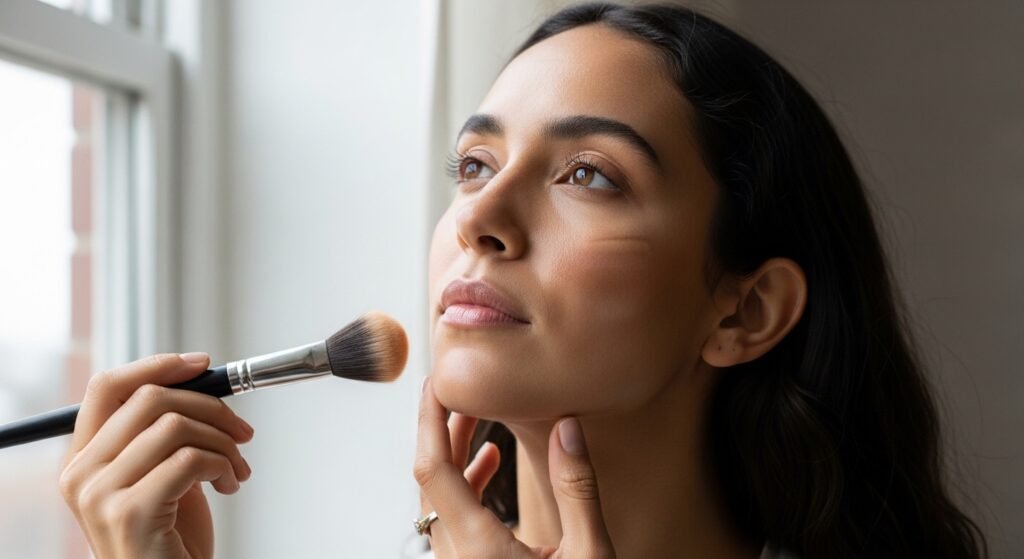
Foundation is where most beginners go wrong, and it is almost always a shade-matching problem. Store lighting is designed to flatter, not to be honest, so a color that looks perfect under fluorescent lights can look completely off at home. The professional trick is simple: swipe three candidate shades along your jawline, then walk to the nearest window or step outside. The right shade disappears into your skin in natural daylight. If you can see a line where the makeup ends, it is the wrong color.
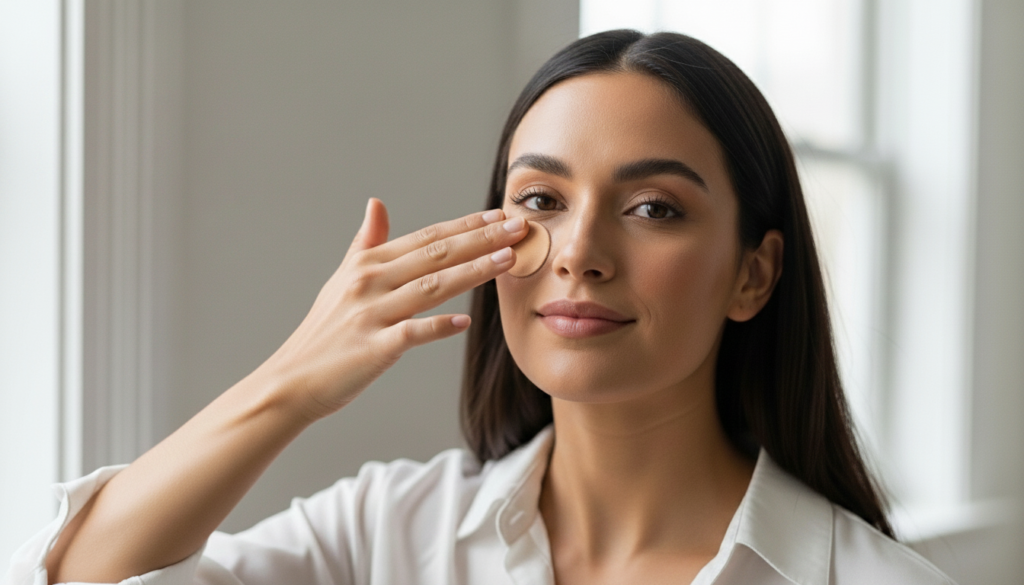
As a beginner, skip full-coverage foundations. They are harder to blend and far less forgiving of mistakes. A tinted moisturizer, BB cream, or light-to-medium coverage foundation will even out your skin tone while still looking like skin. Apply a pea-sized amount to the center of your face, where redness and unevenness are usually worst, and blend outward with clean fingers, a damp sponge, or a brush. Less is more. You can always add another thin layer, but removing excess is much harder.
Concealer: Your New Best Friend
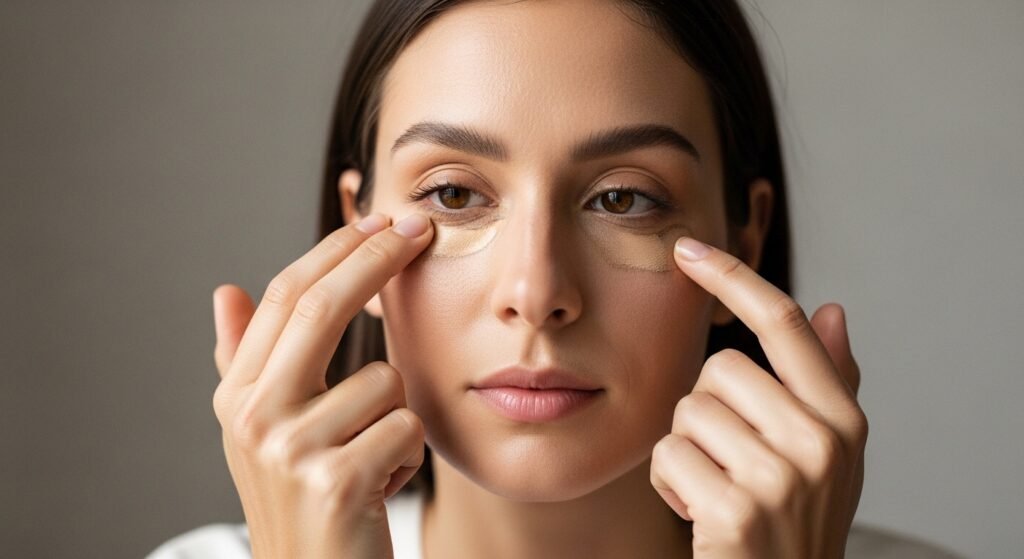
If you buy only one makeup product to start, make it concealer. A good concealer does more heavy lifting than any other item in a beginner kit: it brightens dark under-eye circles, covers blemishes, and evens out redness around the nose. Choose a shade that matches your foundation for blemishes, and one shade lighter with a peachy undertone for under the eyes, where it counteracts bluish darkness.
Technique matters more than product here. For under eyes, apply a few small dots in an inverted triangle shape and pat gently with your ring finger, which naturally applies the least pressure. Never rub or drag the delicate under-eye skin. For blemishes, dot concealer directly on the spot, wait thirty seconds for it to set slightly, then pat the edges to blend. The waiting trick keeps the coverage exactly where you put it instead of wiping it away.
Set It and Forget It
Setting powder is the unglamorous step that makes everything else last. A light dusting of translucent powder over your T-zone (forehead, nose, chin) absorbs oil and locks concealer and foundation in place. The key word is light. Load a fluffy brush, tap off the excess, and press rather than sweep the powder onto the skin. Too much powder is the number one cause of that dry, cakey look beginners fear.
If your skin is dry, you can skip powder on your cheeks entirely and only set where you get shiny. There is no rule that says every step suits every face. Pay attention to how your skin behaves through the day and adjust. Makeup is personal chemistry, and the routine that works for your best friend may need tweaking for you.
Brows Frame Everything
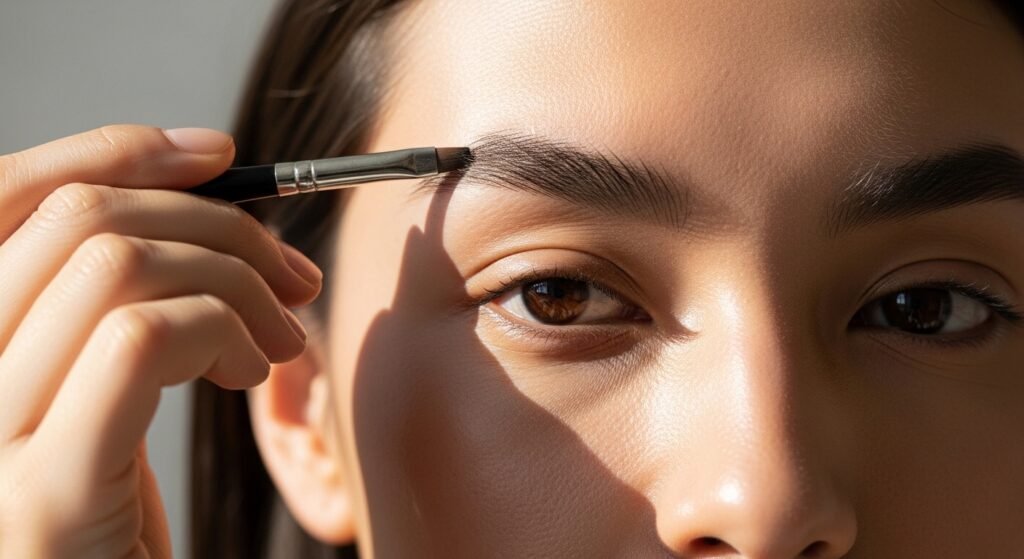
Ask any makeup artist for the one step that changes a face the most with the least effort, and most will say brows. Well-groomed eyebrows frame your eyes and give structure to your whole face, even on days you wear nothing else. The beginner mistake is going too dark or drawing a harsh, obvious shape. Your brow product should match your brow hair, not your head hair, and when in doubt, go one shade lighter.
The easiest beginner method is a tinted brow gel. Brush it through your brows in the direction of hair growth, and you are done in thirty seconds. It adds color, holds hairs in place, and looks natural because it follows your real brow shape. If you have sparse areas, a brow pencil with a fine tip lets you draw tiny hair-like strokes. Use a light hand and step back from the mirror frequently. Brows are sisters, not twins, and chasing perfect symmetry is how beginners end up overdoing it.
Simple Eyeshadow That Works
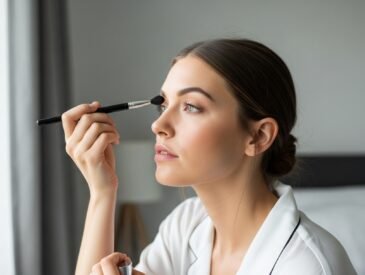
You do not need a twenty-color palette to make your eyes look great. One neutral matte shade, something close to your skin tone but slightly deeper, swept across the entire lid with a fluffy brush adds instant dimension. Blend in small windshield-wiper motions and keep going until there are no harsh edges. Blending is the entire skill of eyeshadow, and it just takes practice.
When you are ready for a second shade, add a slightly darker matte color just to the outer corner of the eye and the crease, then blend the two together. Finish with a touch of shimmer or a light matte shade on the inner corner to make eyes look awake. Cream eyeshadow sticks are a fantastic beginner shortcut: swipe, blend with a finger, done. They are nearly impossible to mess up and travel well.
Mascara: The Biggest Bang for Your Buck
If concealer is the most useful product, mascara is the most transformative. One coat opens up the eyes and makes you look awake and polished in under a minute. Mascara has been doing this job for over a century: the first modern commercial mascara was developed in the early 1900s, and it has been a makeup-bag staple ever since because nothing else delivers such visible results so quickly.
Wiggle the wand at the base of your upper lashes, then pull straight through to the tips. The wiggle deposits product at the roots, which is what creates the illusion of thicker lashes. One to two coats is plenty. Pump the wand in and out of the tube and you push air inside, which dries out the formula faster, so do not do it. Replace mascara every three months. Eye products are the one category where freshness genuinely matters for safety, since bacteria can cause eye infections.
Lips: Start Sheer
Bold red lipstick is iconic, but it is also the hardest lip product for a beginner to wear confidently. It demands precise application and regular mirror checks. Start instead with a tinted lip balm or a sheer lipstick in a shade close to your natural lip color. These formulas are forgiving, moisturizing, and fade gracefully instead of leaving an obvious ring.
Exfoliate your lips gently once or twice a week with a damp washcloth or a sugar scrub, and keep them moisturized. Lip color always looks better on smooth lips. When you are ready to try bolder shades, apply lipstick straight from the bullet, blot once on a tissue, and apply a second layer. The blot-and-layer technique dramatically improves staying power.
The Only Tools You Actually Need
You do not need fifty brushes. A beginner can do a full face with three tools: a fluffy eyeshadow blending brush, a damp makeup sponge for foundation and concealer, and clean fingers for everything else. Fingers are actually excellent tools. The warmth helps creams melt into skin, and you have precise control.
Wash your tools regularly. Brushes used with liquid products should be cleaned weekly with gentle soap and water, then laid flat to dry. Dirty tools harbor bacteria and apply product unevenly, and a surprising number of beginner breakouts trace back to a sponge that has not been washed in a month. Replace sponges every one to three months.
Common Beginner Mistakes to Avoid
- Applying makeup in bad lighting. Always do your makeup in natural daylight or a daylight-mimicking lamp when possible. Bathroom lighting lies.
- Skipping patch tests. Dab a new product on your jaw or inner arm and wait 24 hours before putting it on your whole face, especially if your skin is sensitive.
- Using too much product. Start with half of what you think you need. Sheer layers look natural; thick layers look mask-like.
- Ignoring expiration dates. Most makeup has a small open-jar symbol with a number like 12M. Old products perform worse and can irritate skin.
- Comparing your day one to someone’s year ten. The creators you admire have practiced for years. Your only competition is your yesterday self.
Build Your Starter Kit
Ready to shop? Here is the complete beginner kit, in order of impact. Buy these one at a time as your budget allows; there is no need to get everything at once.
- Moisturizer and SPF 30+ sunscreen (the real foundation)
- Tinted moisturizer, BB cream, or light foundation
- Concealer in your shade
- Translucent setting powder
- Tinted brow gel
- One neutral eyeshadow or eyeshadow stick
- Mascara
- Tinted lip balm
- One fluffy blending brush and one makeup sponge
- Gentle brush cleanser or baby shampoo
Start with the basics, practice a little each day, and add new products only when you are curious, not because a trend told you to. Makeup should be fun, not stressful. There are no real rules, only techniques, and the best look is the one that makes you feel like yourself. Welcome to the beauty aisle. You belong here.